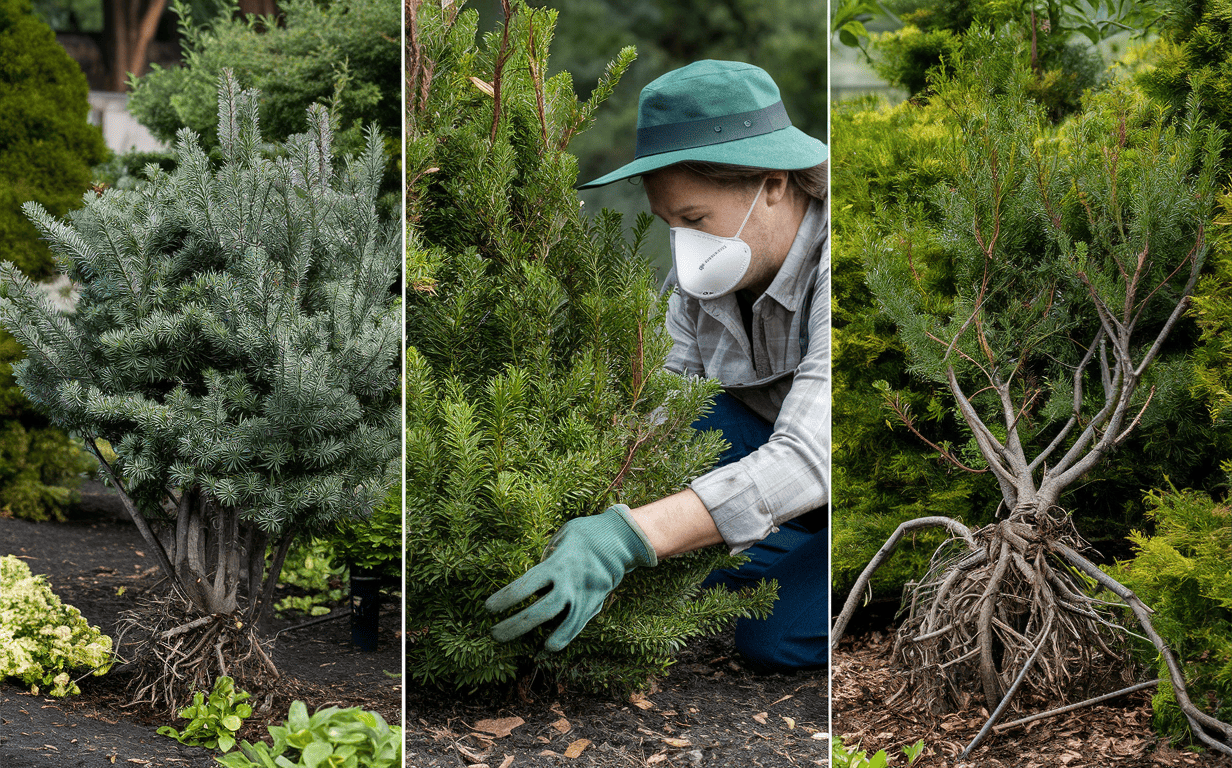
Delving into the world of manual shrub removal can be a daunting task for many. However, with the right knowledge, tools, and a step-by-step guide, you can master this skill and maintain a beautiful and healthy landscape. This blog post serves as a comprehensive guide to understanding the process, providing professional tips, and ensuring you have a smooth shrub removal experience.
Removing shrubs manually may seem overwhelming at first, but it doesn’t have to be. With some effort, the correct tools, and a bit of patience, you will be able to remove those stubborn shrubs that have been taking over your landscape.
Step 1: Understand Your Shrub
Before you start the removal process, it’s essential to know the type of shrub you’re dealing with. Some shrubs have deep roots, while others spread their roots wide. Knowing the nature of your shrub will help you plan your removal strategy effectively.
Step 2: Gather Your Tools
Equipping yourself with the right tools is the first step towards successful shrub removal. Below is a table of essential items you’ll need:
| Tool | Purpose |
|---|---|
| Pruning shears | To trim the branches |
| Hand saw or chainsaw | To cut the main trunk if necessary |
| Shovel | To dig around the base of the shrub |
| Garden gloves | To protect your hands |
| Wheelbarrow | To carry the removed shrub |
Step 3: Prepare for Manual Shrub Removal
Start by using the pruning shears to trim the branches of the shrub. Be sure to remove all branches, leaving only the main trunk. This will make it easier to pull the shrub out of the ground.
Step 4: Dig Around the Shrub
Once your shrub is adequately pruned, use your shovel to dig around the base. Ensure to dig deep enough to reach the primary roots. The depth and width of your dig will depend on the type of shrub and its root system.
Step 5: Loosen the Soil
After digging around the shrub, it’s time to loosen the soil. This will help make the removal process smoother. You can do this by using a garden fork to poke around the base, ensuring that the soil around the roots is loose.
Step 6: Pull Out the Shrub
With the area around the shrub now loosened, you can proceed to pull out the shrub. Use your hands to pull at the base of the trunk. Be careful not to pull too hard, as this could cause the shrub to break, leaving the roots in the ground.
Step 7: Clear the Area
After successfully removing the shrub, make sure to clear the area. This involves removing any remaining roots or debris and preparing the ground for any new plants you might want to introduce.
Pro Tips
For a successful and seamless manual shrub removal experience, it’s important to be equipped with some expert advice. Here are a few pro tips that can help you navigate the manual shrub removal process:
- To make the manual shrub removal process smoother, water the soil surrounding the shrub a day before you plan to extract it. This seemingly small step can have a significant impact; it softens the ground, reducing the resistance when you try to uproot the shrub.
- Safety should always be a priority during manual shrub removal. Always remember to wear garden gloves to protect your hands from potential cuts or scrapes. It’s a simple precaution, but it can save you from unnecessary injuries.
- Depending on the size of the shrub, you may need to cut it into smaller, more manageable pieces with a chainsaw before attempting to remove it. This step makes the manual shrub removal process more efficient and less strenuous.
Engaging in manual shrub removal can be an invigorating and satisfying task. It allows you to enhance the aesthetics of your garden, transforming it into a more appealing space. Additionally, it provides a fantastic opportunity for physical activity, offering a great workout that’s both productive and rewarding!
Remember, the keys to successful manual shrub removal are patience and persistence. It may seem like a daunting task at first, but with these pro tips at your disposal, you’ll be well-equipped to handle it. Best of luck on your manual shrub removal journey!


